The requirements for this project were simple, or so I thought: Save recipes from the web in a readily accessible and usable format. I didn't realize until later that I had many more requirements I had not discovered. In the end, valuable lessons were learning about knowing your requirements and... just knowing more?
Timeline
What have other people done?
I saw many recommendations for Copy Me That, Paprika App, and plain-old recipe cards, but nothing that satisfied. Many of my requirements were formed at this phase, though they lacked firm statements.
- Didn't want to pay for a service
- Free services hosted by others can be liability in privacy and vendor lock-in
Start somewhere
Since I'm already immersed in the Google ecosystem, and they've taken my data already, Drive was a familiar choice. At the risk of being shoehorned into a less-than-ideal platform, I created a folder for storing recipes as Google Docs and a Google Sheet for acting as the table of contents. At this point, I considered manually copying and formatting the recipes as a cop-out answer, but I forged ahead into uncharted territory.
Recipes/
├── Table-Of-Contents
└── RecipeDocs/
	├── Recipe1
	└── Recipe2
Throw AI at it
I knew that any AI chat bot would be able to browse to a recipe article and extract the ingredients list and instructions. At the very least, an LLM would be effective at extracting content from raw HTML. I installed Ollama for the first time and played around with gemma3:1b and deepseekr1:1.5b models. While the novelty of running AI on my own computer was exciting, I wasn't any closer to a final product. With this newfound knowledge, and the smallest bit of experience, I was able to form more requirements.
- Can't be local to just my desktop
- Needs to be accessible from anywhere, not just my home network
- Avoid the security burden and not be publicly accessible
If not on-prem, then cloud
Cloudflare was the first stop, being the cloud provider that I had the most familiarity with. Even though Cloudflare's compute offerings pale in comparison to the other titans in the industry, finding a solution would mean one less account I had to sign up for.
I came across several offerings that would help me in my search, the first being Email Workers. A serverless function triggered on the receipt of an email. The flow of the solution was beginning to form in my head:
- Send email with recipe page URL to destination address
- Parse email to obtain URL
- Fetch HTML content
- Prompt LLM to extract recipe info
- Output to Google Docs
The second offering I discovered was Workers AI. A serverless integration for LLMs with generous free tiers on a known platform. I created a prompt and received a response from the LLM - nice and easy.
The third offering was Browser Rendering, to run headless Chrome for automation and web scraping. Looking back, I should have stopped at the /browser-rendering/content API and sent the raw HTML into an LLM prompt but I was more concerned with finding the "best" solution. I spent the majority of my time working with an integration called Stagehand, an AI powered browser automation library. After code incompatibilities, version conflicts, and overall sub-par performance, the email --> LLM flow achieved a usable output.
- Needs to be maintainable end-to-end by me
- Simple is better
- Avoid hundreds of dependencies (npm packages)
Time to integrate with Google
To fulfil the end goal, the output should be saved to a Google Doc. At some point while looking at the Node.js Drive SDK I asked myself "If I have to integrate with Google anyway, why not just use Google for everything?" This was the beginning of the end, as I bounced around between Google Cloud, Google Workspace and eventually found something I had never heard of before, Google Apps Scripts. There were some limitations, but a new code flow formed in my head:
- Send email with recipe page URL to personal email
- Flag email with "Automation" label
- Parse email to obtain URL
- Fetch HTML content
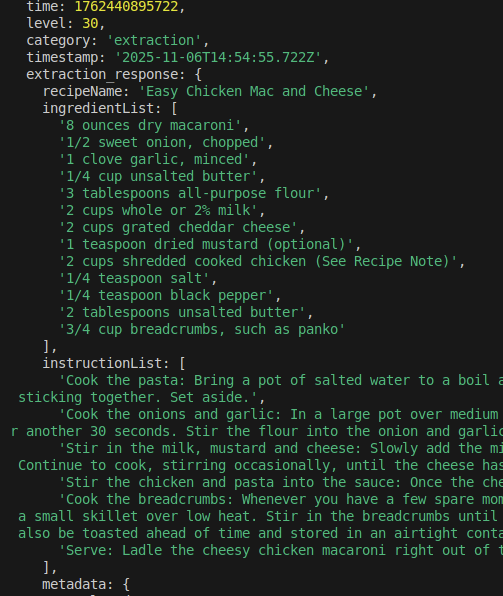
- Prompt LLM to extract recipe info
- Output to Google Docs
I left all the progress made with the previous solution, somewhat disappointingly, with the hope I could make something that better suits my needs. Within a few hours I had a fully working product. Project available on my GitHub: https://github.com/lostinstarvation/google-recipe-parser
There are downsides to the current approach:
- No event based trigger, so the execution of the script has to be scheduled
- Dependent on email rules to correctly identify emails
- Runs under user account context
Lessons learned
My requirements looked like this - a stark contrast from the simple statement in the beginning:
- Have full control over solution to add or remove features
- Minimize third party integrations and dependencies
- Free, without paying in privacy
- Recipes should be exportable or saved in a common format
- Accessible from desktop or mobile while away or at home
- Easy to use for multiple people
So, to answer the question, do I need to be better at designing solutions or know how to design solutions better?
- Better at designing solutions: Knowing the right tools for the job comes with time, as you can't know everything from the start
- Design solutions better: One improvement, out of many I'm sure, is to know your requirements